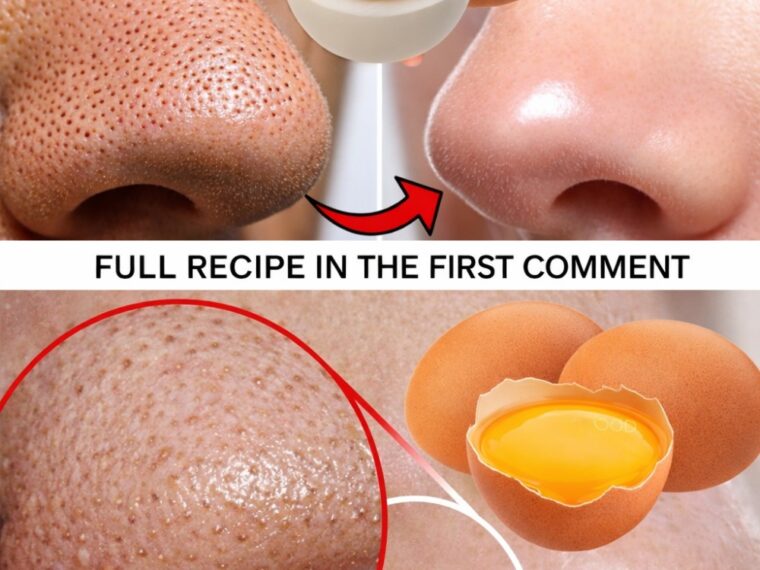
Blackheads. Those tiny dark dots on the nose and chin that seem to come back no matter what you do 😩
Face strips, expensive creams, painful squeezing… we’ve all tried them.
But what if the solution was already in your kitchen?
Yes — an egg 🥚
Simple, cheap, and surprisingly effective when used the right way!
Let’s crack into it 👇
🤔 Why Do Blackheads Appear?
Blackheads form when:
- Pores get clogged with oil (sebum)
- Dead skin cells build up
- The pore stays open and turns dark when exposed to air
The nose is especially vulnerable because it produces more oil.
🥚 Why an Egg Works (The Science, Made Simple)
Egg whites are:
- Rich in proteins (albumin) that tighten the skin
- Naturally astringent, helping shrink pores
- Sticky when dry, which helps lift dirt and oil from pores
Think of it like a gentle, natural pore strip — without chemicals.
✨ The One-Egg Blackhead Method (Step by Step)
🧼 Step 1: Clean Your Face
Wash your face with warm water to remove makeup and dirt.
Warm water helps open pores — very important!
🥚 Step 2: Separate the Egg White
Crack one egg and separate the egg white only (no yolk).
🖌️ Step 3: Apply the Egg White
Using clean fingers or a brush, apply a thin layer of egg white to areas with blackheads (usually the nose).
📄 Step 4: Add Tissue or Paper
Place a thin tissue or paper towel over the wet egg white.
Gently press it down.
🖌️ Step 5: Add Another Layer
Apply a second layer of egg white over the tissue.
⏳ Step 6: Let It Dry Completely
Wait 10–15 minutes until it feels tight and stiff.
(This is where the magic happens ✨)
😮 Step 7: Peel It Off!
Slowly peel the tissue upward.
You may actually see tiny dots on the paper — that’s oil and debris!
💧 Step 8: Rinse & Moisturize
Rinse with cool water to close pores, then apply a light moisturizer.
🪞 What Results Can You Expect?
TO CONTINUE READING THE RECIPE PLEASE SEE PAGE 2